
How to Choose the Right Pellet Stove Vent Cap
Identify the correct pellet stove vent cap by route, pipe system and diameter, then check termination clearances and cleaning access.
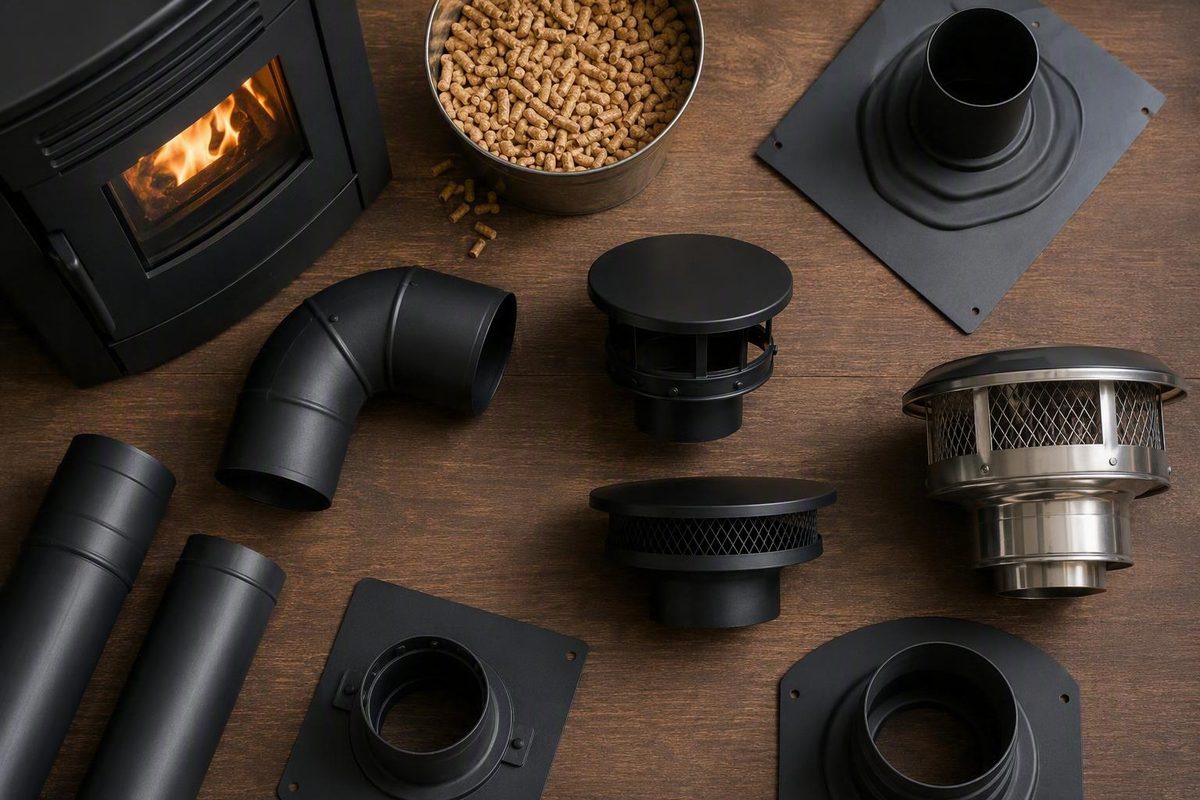
A pellet stove vent cap is the fitting at the outdoor end of the exhaust system. Its job is not merely to keep out rain: it must terminate the listed vent in the orientation and location allowed by the stove and vent-system instructions.
The practical buying rule is simple: match the cap to the vent brand, product line, diameter and route. Do not choose a generic cap merely because its nominal diameter is 3 or 4 inches.
First, identify which “cap” you need
These parts are easy to confuse:
- Horizontal termination cap: finishes a vent that exits through a side wall.
- Vertical termination cap: finishes a vent rising through a roof, chimney liner or approved exterior vertical arrangement.
- Cleanout tee cap: closes the bottom of a tee and is removed for ash cleaning. It is not an exhaust termination.
- Outside-air hood or screen: protects the combustion-air intake. It is not a flue cap.
A horizontal cap cannot automatically substitute for a vertical cap. DuraVent, for example, lists separate horizontal and vertical components and specifies different supporting parts for each arrangement in its PelletVent Pro planning guide. Start with the complete route, not the cap’s appearance. Our vent-kit guide explains how to audit the other required pieces.
Match five details before ordering
1. The appliance instructions
Find the installation manual for the exact stove model and revision. It determines whether horizontal, vertical or chimney-connected routes are permitted, along with vent sizing and route limits. DuraVent likewise tells installers to confirm permitted configurations and restrictions such as horizontal run, vertical rise and offsets with the appliance manufacturer.
If the appliance manual requires a 4-inch vent for the proposed route, buying a 3-inch cap because the stove has a 3-inch outlet is the wrong shortcut. The transition belongs at an approved increaser, not at the termination. See how vent diameter and route are selected.
2. The vent manufacturer and product line
Treat listed pellet vent as a system. Selkirk’s Model VP instructions explicitly say, “Do not mix and match with other manufacturer’s products. Use only VP listed components.” The same document identifies separate VP vent caps and horizontal termination caps in its installation diagrams. A cap from another line may have a different coupling, gasket or locking method even when the stated diameter matches. (Selkirk Model VP instructions)
Look for a label or stamped product code on an existing pipe. If identification is uncertain, take clear photos and measurements to a qualified installer or the vent manufacturer rather than forcing a near-fit component.
3. Diameter
Match the cap to the installed vent’s inside diameter and exact system, commonly 3 or 4 inches. Do not infer size from the outside measurement: double-wall pipe is wider than its nominal inside diameter. Selkirk describes its VP line as available in 3- and 4-inch diameters with a stainless inner liner, galvanized outer wall and gasketed joints. (Selkirk VP product record)
4. Orientation and exposure
Choose the manufacturer’s horizontal cap for an approved side-wall termination and its vertical cap for an approved upright termination. For one concrete system-specific example—not a universal clearance—DuraVent calls for its horizontal cap to stand 6 inches from the outside wall and tells readers to consult the appliance instructions for other clearances. Its guide specifies a 12-inch minimum height above the roof for that system’s vertical termination. (DuraVent PelletVent Pro guide)
Wind, snow, roof geometry and nearby structures also matter. One current Quadra-Fire installation manual says an above-roof termination is ideal where possible because it minimizes wind-loading effects. (Trekker installation manual)
5. The termination location
Do not apply a clearance copied from a different stove manual. The exact appliance instructions and local requirements govern. Before drilling, map the cap’s distance from operable windows and doors, air intakes, the outside-air inlet, soffits, overhangs, adjacent walls, vegetation and grade or expected snow.
This is also a cleanliness decision. Pellet exhaust can carry ash, soot or sparks, so the Trekker manual directs installers to consider windows, air intakes, air conditioners, overhangs, adjacent walls, landscaping and vegetation when locating the termination. A technically permitted spot can still leave visible deposits on light siding or create a difficult cleaning location.
Replacement checklist
For an existing installation, record:
- Stove make, model and serial-number range.
- Vent brand and product-line marking.
- Nominal inside diameter.
- Horizontal or vertical termination.
- Existing cap’s part number, attachment and condition.
- Required wall, roof and nearby-opening clearances from the stove and vent manuals.
- Whether the cap can be reached safely for inspection and cleaning.
Replace a damaged or corroded cap with the specified listed component; do not reshape it, add an improvised screen or reduce its outlet. Selkirk warns that fine pellet-combustion dust can accumulate near the outlet and that enough buildup may affect vent and appliance operation, so it recommends periodic inspection and cleaning when necessary. (Selkirk SPV maintenance guide)
A cap that repeatedly plugs, stains the wall heavily or allows exhaust odor indoors may be showing a broader vent-location, cleaning, draft or combustion problem. Shut the stove down according to its manual and have the complete system checked rather than treating repeated cap cleaning as the repair. For the rest of the service path, see cleaning beyond visible ash.